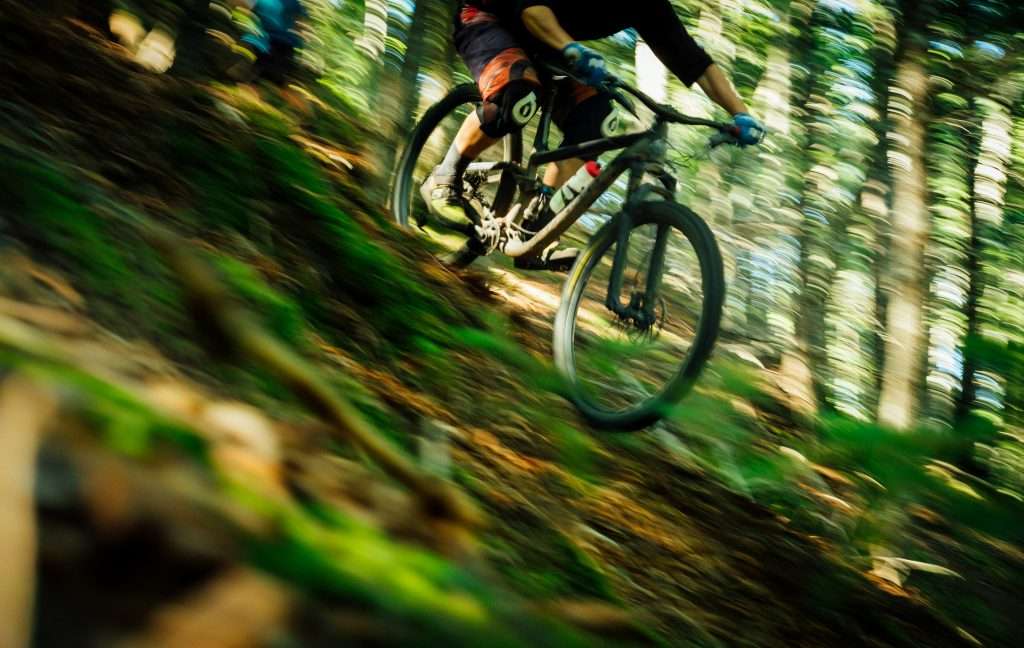
New Zealanders don’t exactly do “casual” when it comes to mountain biking. When you’re dropping into Rotorua’s Redwoods, carving through Queenstown’s gravity trails, or slogging up a gnarly climb in the Port Hills, your bike will take a hammering.
Fortunately, the MTB bikes NZ riders love are usually built for even the roughest adventures. But they do demand a bit of care to stay smooth, fast, and reliable. To get you there, here are seven essential maintenance tips that’ll make sure your bike is always adventure-ready.
Clean Your Bike the Right Way
It’s tempting to blast your bike with water to get it clean after a muddy ride. However, resist the urge because high-pressure water can force grit and moisture deep into your bearings, bottom bracket, and suspension seals.
Instead, go old-school. Fill a bucket with warm, soapy water, grab a stiff-bristle brush for the drivetrain, and use a sponge or soft cloth for the frame. Then, rinse gently with a hose (not a pressure washer!). Pay extra attention to fork seals, chainrings, and around the jockey wheels of your derailleur, as these are the places dirt loves to hide.
Wipe and Lube Your Chain
Every pedal stroke, every gear shift, every moment of forward motion runs through your chain. Leave it filthy, and you will grind down your cassette and chainrings. To prevent this, get in the habit of wiping your chain with a dry rag after every ride, then relubricating it as needed. Match your lube to the season, too. For instance, dry lubes are great for dusty warm-weather trails, but they’ll wash straight off in winter. Meanwhile, wet lubes last longer in the rain, but apply sparingly to avoid attracting grime.
Also, chains “stretch” over time, so don’t wait until your chain breaks before replacing it. If it’s worn beyond 0.75mm, this is your cue to replace it. Do it early, and you’ll save your cassette and chainrings from premature death.
Care for Your Suspension
Your fork and shock are your best mates on the trail, soaking up hits and keeping you glued to the dirt. But they’re not invincible. Dust and grit on the stanchions act like sandpaper if you don’t wipe them off after each ride. That’s why you should always carry a clean rag and give the fork and shock a quick wipe before you throw the bike in the ute.
You’ll also need to plan for more serious servicing. Every six months, book in a lower leg service for the fork and an air can service for the shock. It’s cheap insurance for components worth thousands. As a quick at-home test, lean into your suspension while stationary. If you feel “sticky points” or hear slurping noises, it’s time for a service.
Check and Service Your Brakes
Give each brake lever a quick squeeze. If they pull all the way to the bar, air may have crept into the lines, and you’ll need a brake bleed. Similarly, inspect your pads regularly. The golden rule is simple: don’t let them wear below 1mm.
Also, if your brakes start squealing, it’s usually one of two things: contaminated pads or glazed surfaces. You can lightly sand glazed pads to revive them. But if they’re soaked in oil, replace them. Pads are cheap, your bones aren’t.
Monitor and Adjust Your Tyres
Start with tyre pressure. Too hard, and you’ll bounce around like a pinball. Too soft, and you risk pinch flats or burping tubeless tyres. Generally speaking, riders running tubes often go 30psi or more, while tubeless setups allow lower pressures of 20–25psi depending on weight and style. Experiment to find what feels right, but check pressure before every ride.
Next, run your hands along the tyre tread. Look for cuts, punctures, or sealant weeping through the sidewalls. New Zealand’s rocky terrain is brutal on tyres, so don’t wait until you see cords showing before replacing them.
Tighten Bolts and Inspect Bearings
Take a couple of minutes to check your headset, wheels, and pivot bolts. Do this by holding the front brake and rocking the bike back and forth. If you hear any clunking, that usually means a loose headset. Also, spin the wheels to make sure they’re true, and give the cranks a wiggle to check for play in the bottom bracket.
After all that, give the bolts a once-over. Use a torque wrench where possible and stick to the manufacturer’s specs to avoid over-tightening bolts. In this case, more is not better because stripping a bolt is as bad as leaving it loose.
Service Your Drivetrain and Cables
The drivetrain is an intricate system comprising the chain, cassette, chainrings, and derailleur. If one part is struggling, everything will feel clunky. Keep your bike shifting smoothly by regularly putting your bike in a stand (or flipping it upside down) and checking your gear indexing. If your shifting feels slow or imprecise, the culprit is often stretched cables or worn housing. Replacing them once a year is cheap and makes your bike feel brand new.
While you’re at it, inspect your jockey wheels for wear and make sure your derailleur hanger is straight. A bent hanger can throw your shifting off badly, yet it only takes a minute to eyeball or straighten with the right tool.
Finally, check your cassette and chainrings for hooked teeth, which indicate wear. If your chain skips under power, it’s time to replace parts before they cause bigger issues.
Keep Your MTB Trail-Ready
And that’s how you make sure how your mountain bike never bails on you when you’re out conquering New Zealand’s legendary trails. Whether you’re dropping into Queenstown’s gravity-fueled downhill runs, cruising among Rotorua’s world-famous redwoods, tackling Nelson’s challenging backcountry tracks, or chasing coastal views along the Coromandel, you’ll be ready to ride with confidence. You’ll probably agree that the best rides go smoothly from start to finish. Putting in a little effort off the trail keeps you safe, and you keep your a


